The Gainsight PX S3 Account and User Import data integrations can be used to import daily updates to PX account and user data from a predefined directory structure in a customer-managed AWS S3 bucket. These data integrations are well-documented in this support doc, but this article will answer some common configuration questions, and provide some additional visual examples of the file structure.
S3 Folder Configuration
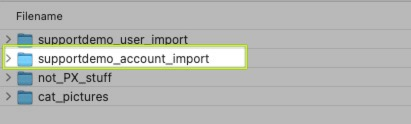
The S3 Account and User Import data integrations each require a ‘base import folder’, and each of those base import folders requires 2 subfolders: one named “current” and another named “processed”.

In the example shown above, you can see that the base import folders follow the naming convention productName_pxObjectName_import, but you can use any naming convention for these folders. The subfolders must be named “current” and “processed” precisely, or the integration import job will fail.
Integration Configuration
In Gainsight PX, the AWS S3 Import Settings are configured separately for the S3 Account Import and S3 User Import integrations, but the configuration fields are the same. Here are some Frequently Asked Questions regarding the AWS S3 Import Settings:
Where do I find the bucket name and authorization details for my S3 bucket?
The Gainsight PX S3 Account and User Import data integrations rely on a custom-managed S3 bucket, so these will be AWS resources that are provided by your IT, ops, or engineering team. Gainsight provides the interface, but not the S3 bucket itself.
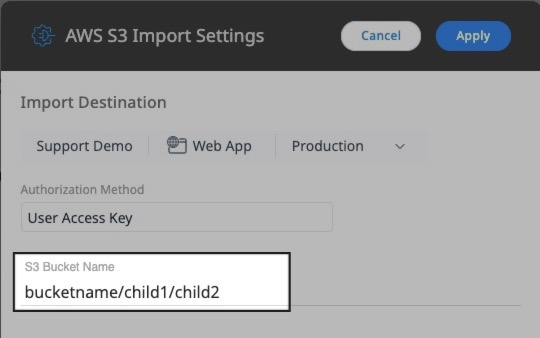
What’s the difference between the ‘S3 Bucket Name’ (where I can include additional path details) and the ‘Path to Base Import Folder’?
Let’s look at two common scenarios. In a scenario where the base import folder is on the root layer of the S3 bucket, the ‘S3 Bucket Name’ will be the simple S3 bucket name, and the ‘Path to Base Import Folder’ will be the name of the folder that contains subfolders named “current” and “processed”.
Alternatively, there might be some intermediate folder(s) that organize your PX data in the S3 bucket, such that the base import folder is a subfolder/child of another folder, like in the example below.
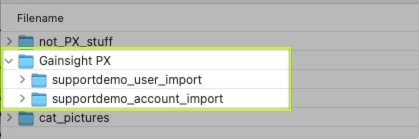
In this case, you can simply add the parent folder path to the ‘S3 Bucket Name’ with a / between each layer, as pictured below.
The Import Process
At the highest level, the process will work like this:
- The S3 Account and User Import data integrations will check for new data to import in the “current” subfolder in their respective base import folder, e.g. user_import_base/current/

- If new data is found, that data will be processed by PX
- After processing, the data will be moved to the ”processed” subfolder in the corresponding base import folder, e.g. user_import_base/processed/
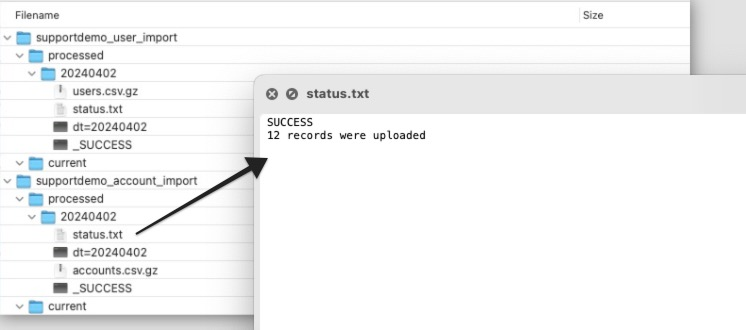
- In addition to the source data being moved to the ”processed” folder, a “status.txt” file will be written to the ”processed” folder to log the number of records that were updated, and any errors that might have occurred during the import process.
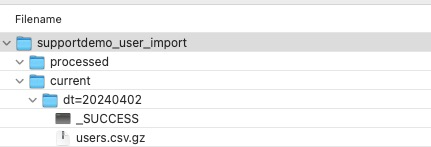
So how do we facilitate the above workflow? As PX users, we need to provide a dated folder inside the “current” folder using the YYYYMMDD date format and ‘dt=’ as a prefix to the date.
Pictured below, we can see the example of the import source folder for April 2, 2024 can be found in importBaseFolderName/current/dt=20240402. Within that dated folder, we need to provide 2 files:
- The data source mentioned above in step 2, i.e. the user or account data that will be consumed/imported by PX, in the form of a Gzipped csv file (extension “.csv.gz”)
- An additional file named “_SUCCESS” that requires no contents at all, but is used to indicate to PX that the Gzipped csv file is ready to be imported.
Creating the Import Data Source File
You can create the CSV file that will get Gzipped and added to importBaseFolderName/current/dt=YYYYMMDD in a number of ways, but the following applies in all cases:
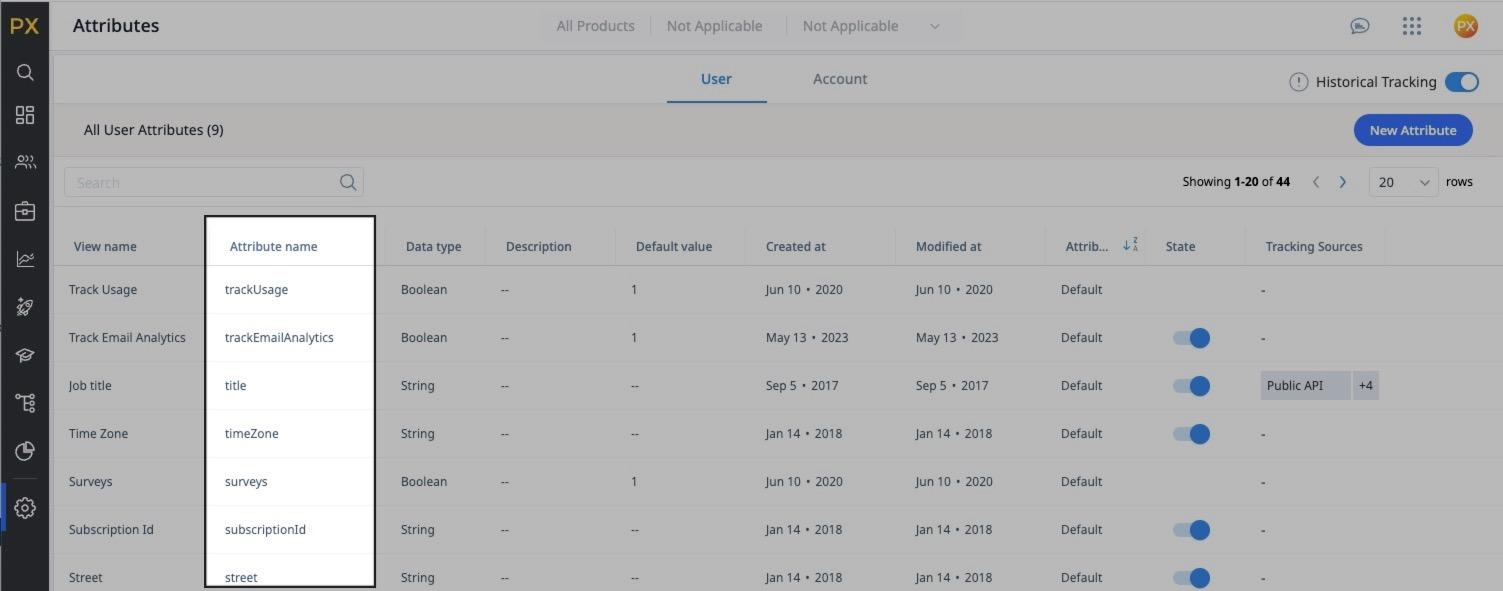
- All column names (row 1) in the CSV file must correspond exactly to the API/Attribute Name in the PX User or Account object attributes
- All rows must contain a valid User or Account ID in the ‘id’ column
- Data values must be parsable according to the data types defined in this PX documentation
- The CSV file is limited to 350,000 rows per file. Multiple files can be provided, and will be imported serially
- The CSV file can be named anything, but it’s a good idea to keep ‘user’ or ‘account’ in the naming convention so it’s obvious to human users what they’re looking at.
As a starting point, a complete or filtered set of PX Users can be exported from Audience Explorer, and a complete or filtered set of PX Accounts can be exported from Accounts Explorer.
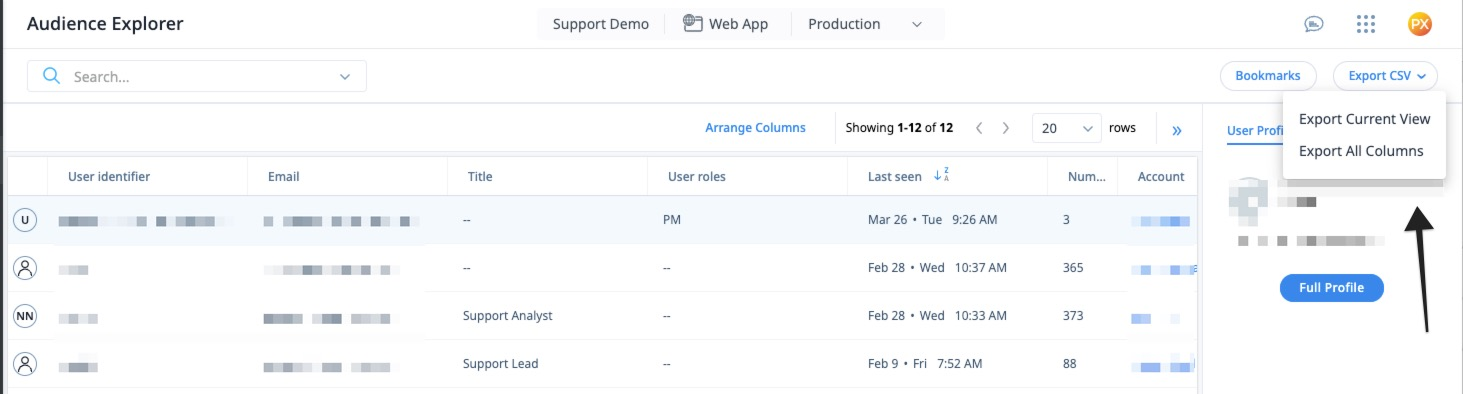
Remember that all column names (row 1) in the CSV file will need to be edited to correspond exactly to the API/Attribute Name in the PX User or Account object attributes.
When your data is ready, the CSV file must be compressed with Gzip using a command line tool or a utility like 7zip.
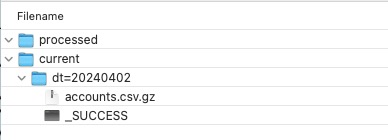
Add your .csv.gz data source to the importBaseFolderName/current/dt=YYYYMMDD folder, then create an empty file named “_SUCCESS” in that same folder. The “_SUCCESS” file is used to indicate to PX that the Gzipped csv file is ready to be imported.
After these steps are done, your prepared data will look something like the below example.
Validation and Troubleshooting
Once the import automation runs, the source data will be moved to the ”processed” subfolder in the corresponding base import folder, and a “status.txt” file will be written to the ”processed” folder to log the number of records that were updated, and any errors that might have occurred during the import process.

Use the contents of the “status.txt” file to troubleshoot any issues like misnamed columns, or missing identifiers.