Hello PX Tribe!
I want to share a topic that has been frequently coming up from our customers and which I think could be useful to this group - How to trigger sequential in-app guides from In-App CTAs/ Button clicks.
As most of us know, today PX allows us to trigger In-App guides based on "views/ completions" of other guides; however, there is no In-App Audience Rule to trigger based on unique CTA clicks on the In-App Guide.
But.... we can still do this 
See below solutions for various scenarios: These can be used for various use cases like Customer Onboarding or Feature Activation or guiding the customer through the Adoption Journey/ Prescriptive Value Path.
Scenario 1 - Based on CTA/ Button Clicks on In-App Guide # 1, trigger sequential guides one after another (Using Query Parameter)
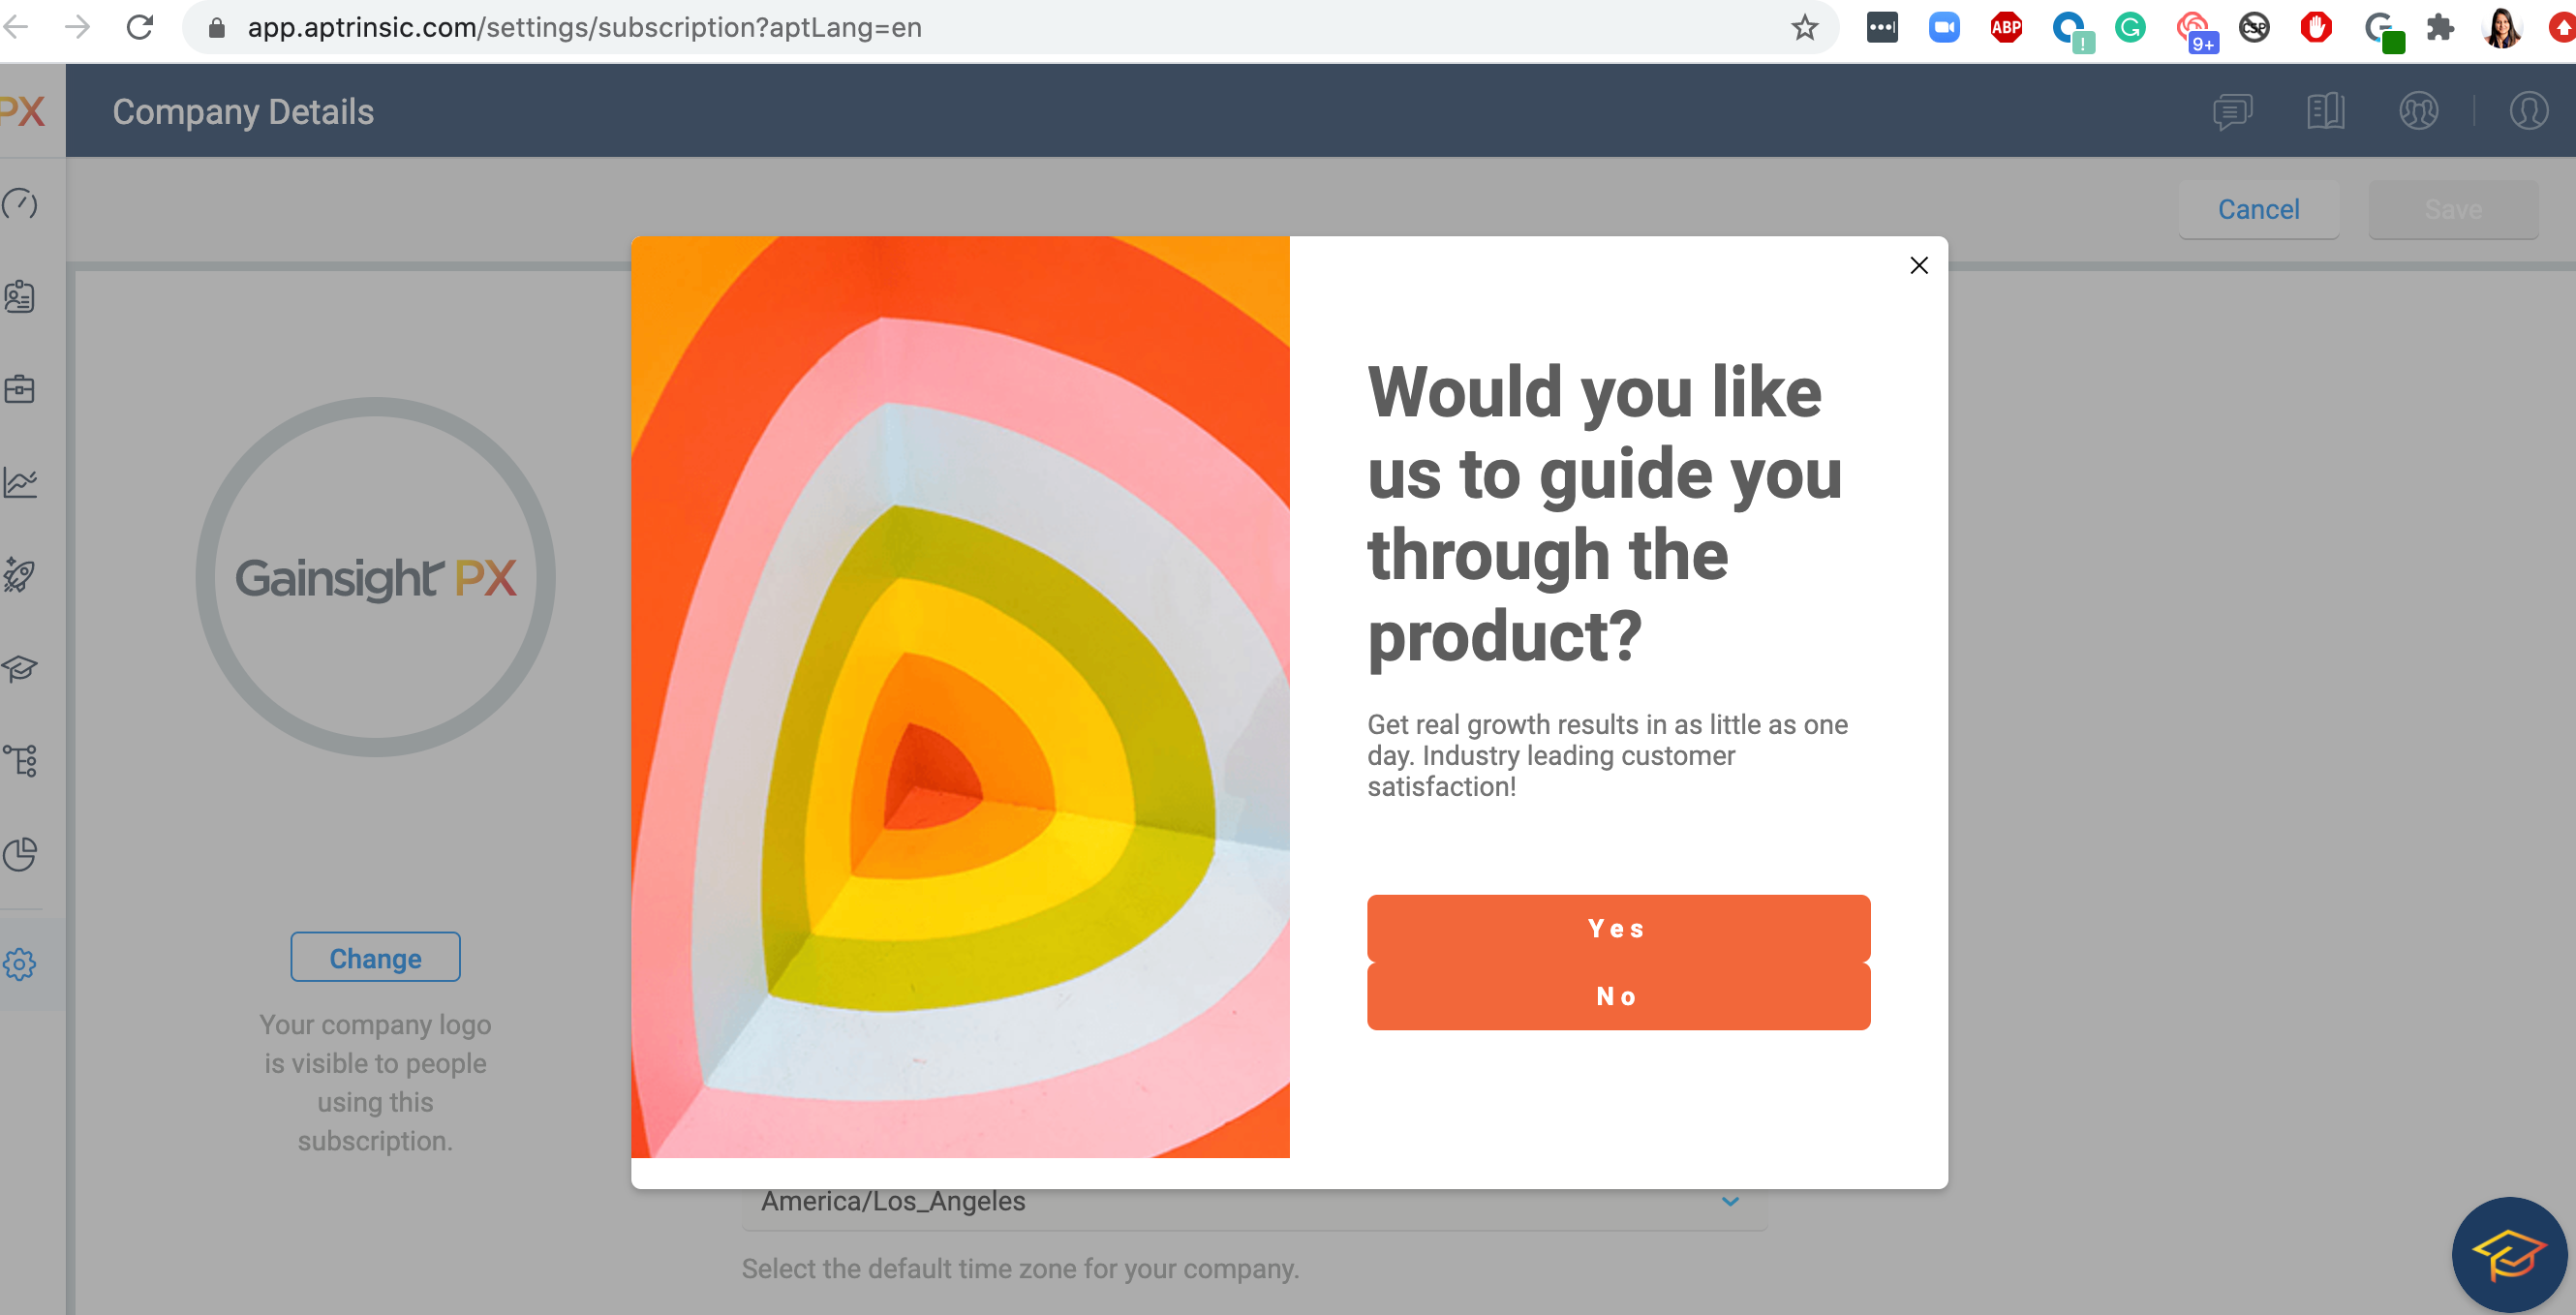
- Start with an In-App Dialogue with a CTA/ Button
- Make the buttons <a href=“https://app.aptrinsic.com/dashboard?launchGuideName=welcome” />. In www the are a couple of entities:
- URL / schema (https://app.aptrinsic.com/dashboard)
- query = anything after the '?' (in this example launchGuideName)
- query parameters are key-value pairs guide=welcome
- it starts with '?' but then it has '&': https://app.aptrinsic.com/dashboard?guide=welcome&color=blue
- In the linked/follow-up In-App Guide >Go to Audience rules > Choose "Query Parameter" Rule > Query Param Name (launchGuideName) -> Add the value welcome.
- This next In-App Guide would trigger if the user clicked on the button of the first guide, as it matches with the Query Param on your linked guides.
Scenario 2 - Based on CTA/ Button Clicks on In-App Guide # 1, trigger sequential guides after xx days (Using Custom Events).
This method is also preferred in cases where the links are outside of your app, where the PX Tag is not installed.
- Start with an In-App Dialogue with a CTA/ Button
- Use Custom Events to track this button click
- Map it as a feature in the Product Mapper
- Trigger Guide nurturing program after xx days using the Custom Event or Product Mapped Feature Rule from the Engagement Audience Rules
Scenario 3 - Collect Survey Responses (Eg. User Role) and serve In-App Guide nurturing programs based on the Ideal Customer Profile (ICP) (Using PX Rest API)
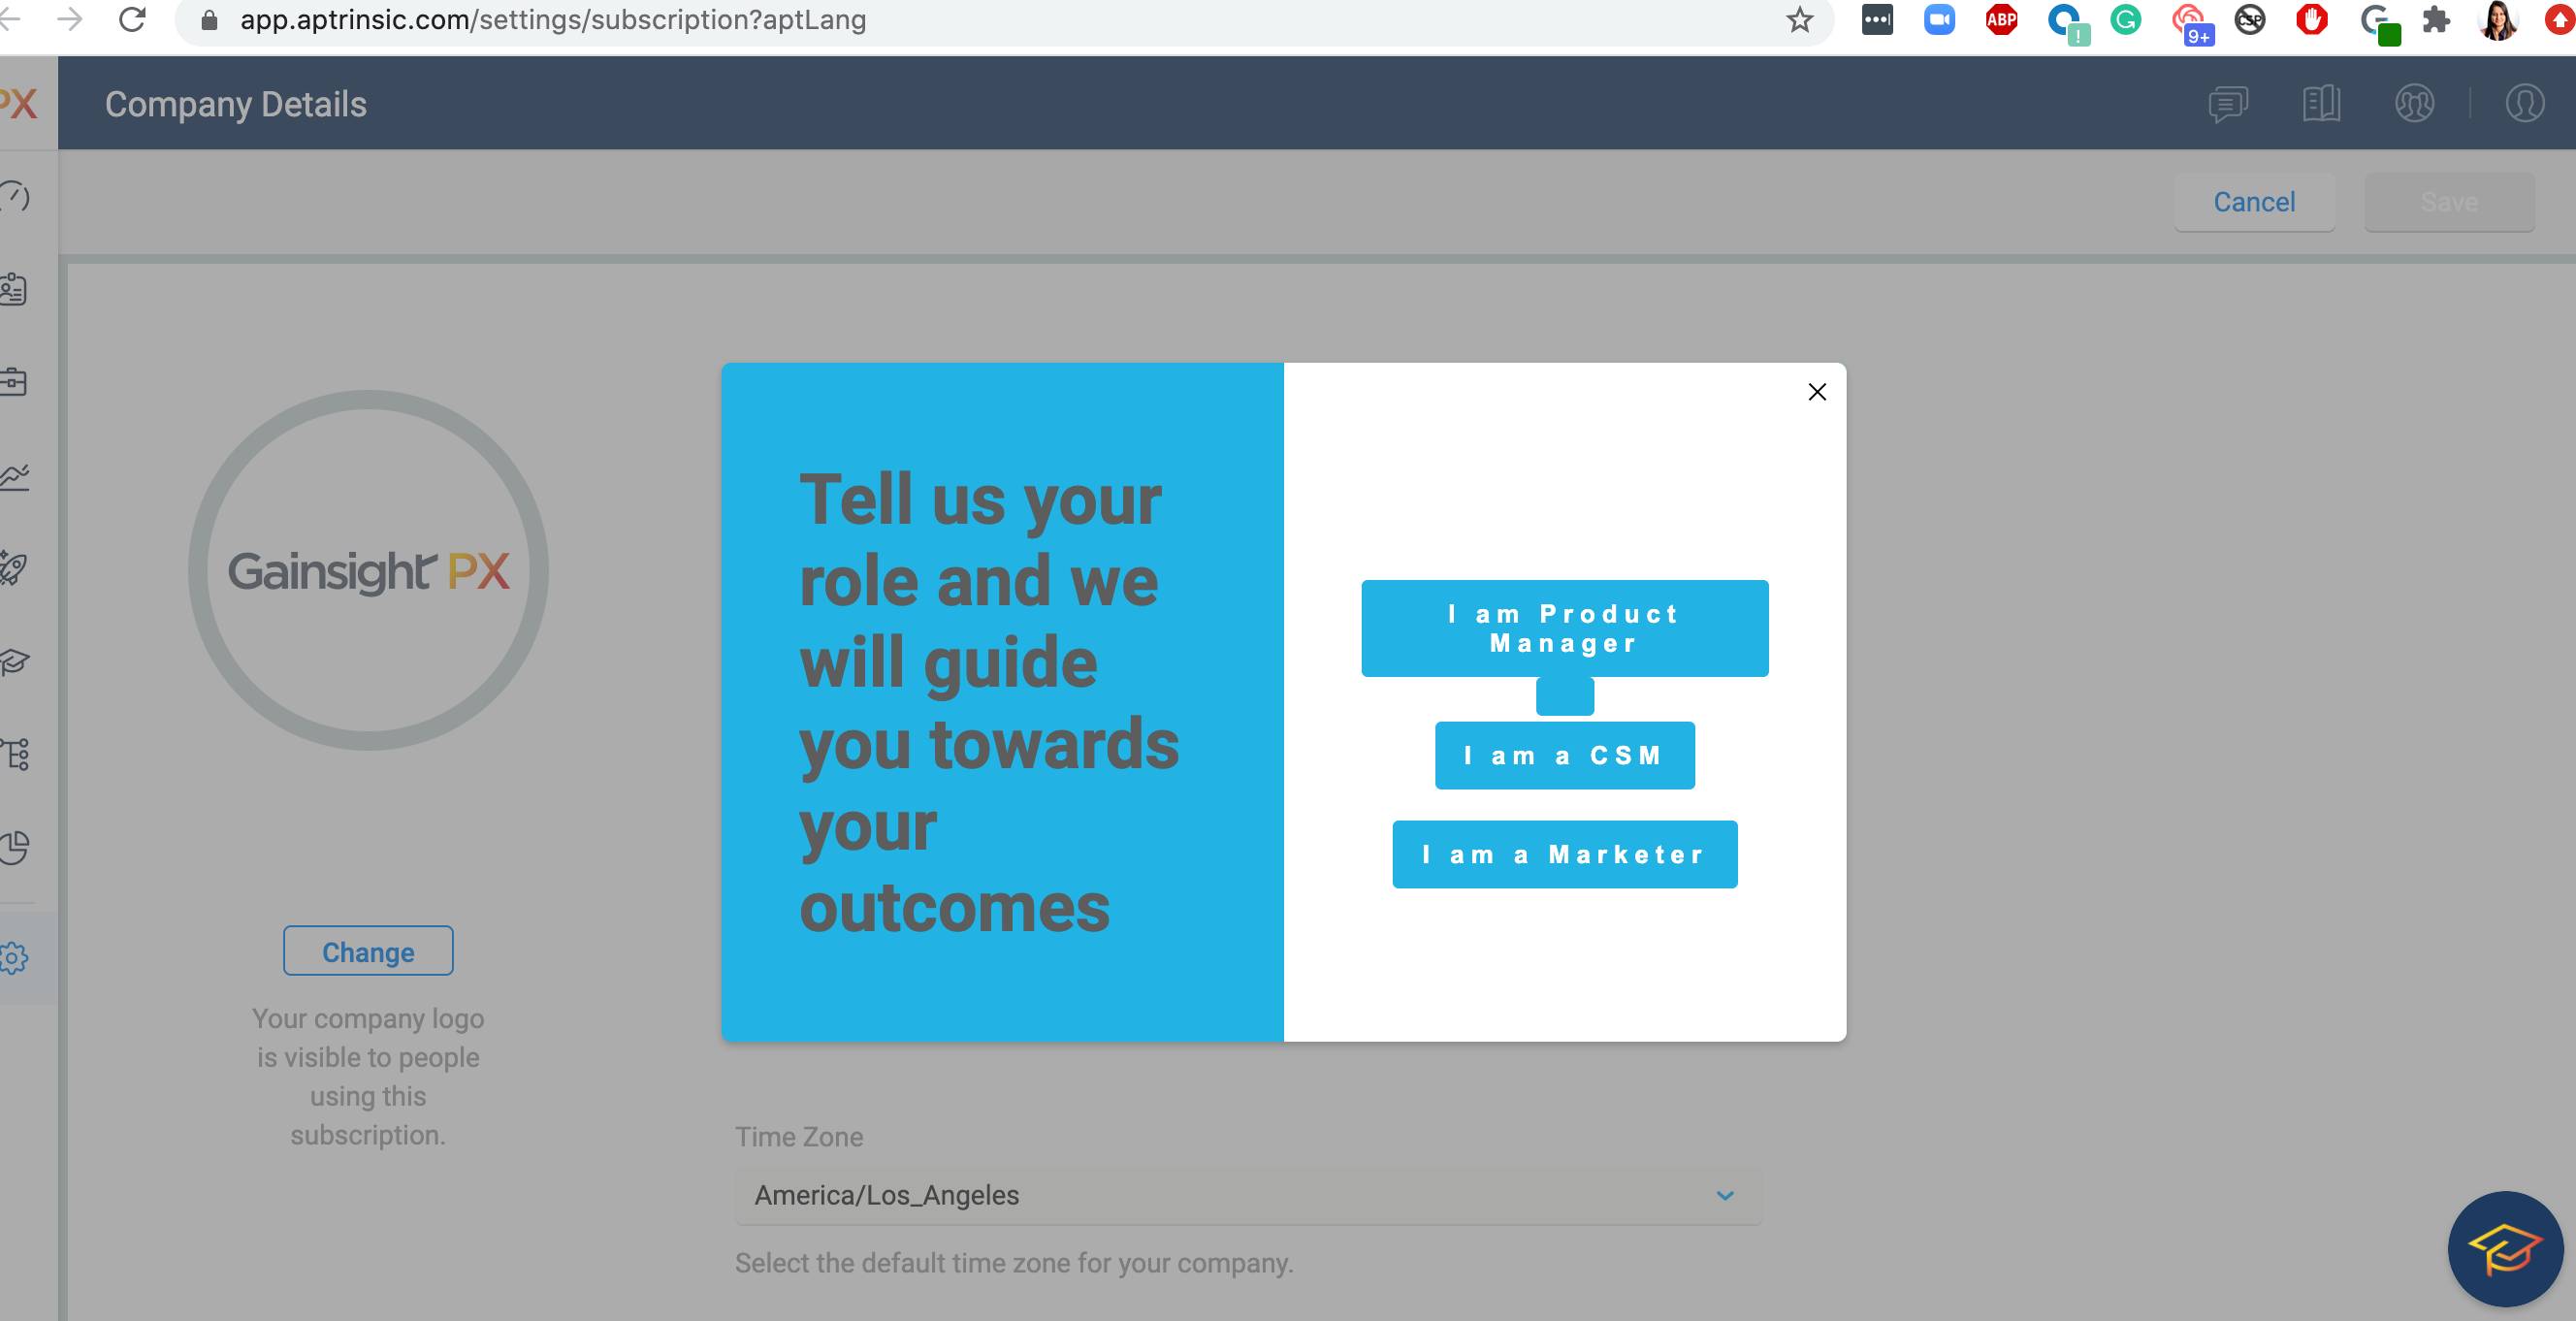
This community post here from